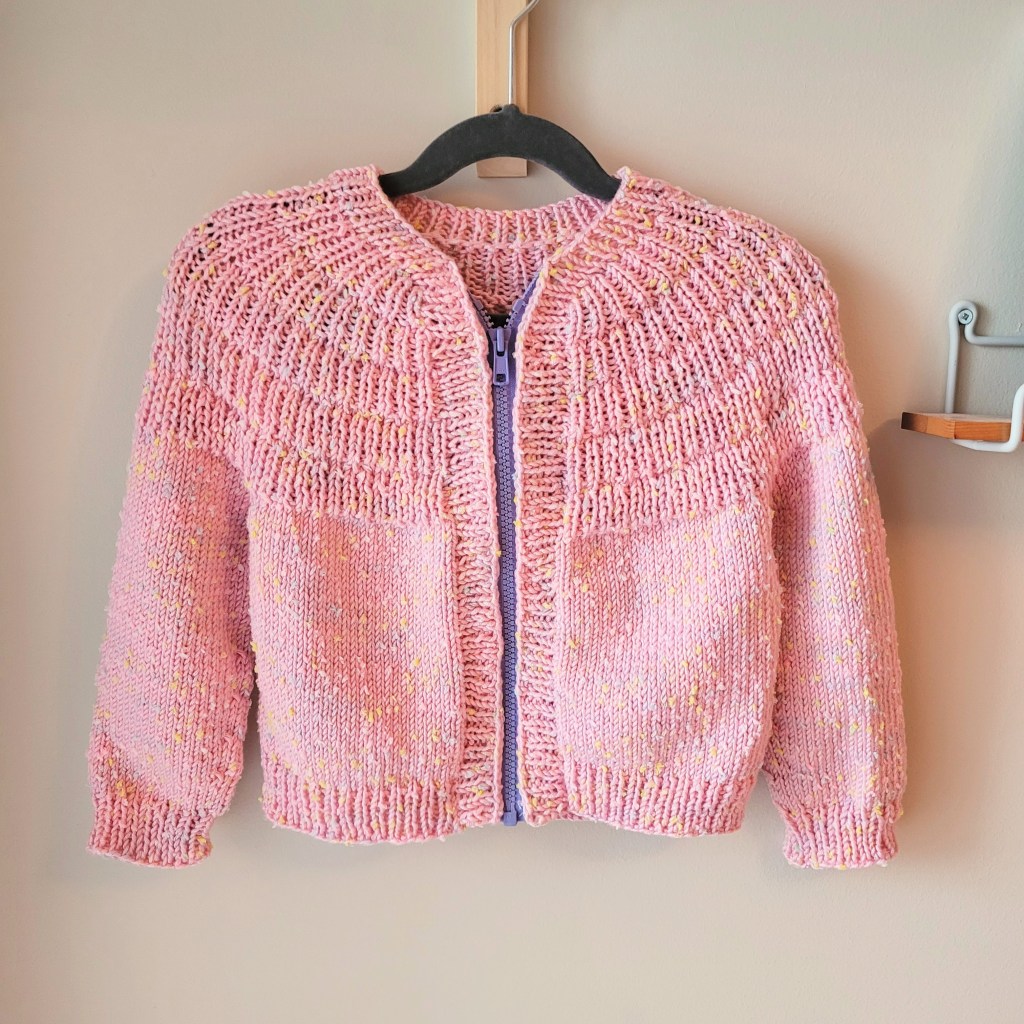
I’m so excited to share this little cardigan. It worked up so quickly and was such a joy to knit from start to finish. Between the great pattern and fun yarn, I didn’t lose interest for even a minute, but that could also be because of the size. Toddler knits are always less of a commitment! Without further ado, here is the confetti cardigan:
I like to call it the confetti cardigan because of the flecked yarn, but it’s actually called Anker’s Jacket by Petite Knit. I used two balls of Loops & Threads Flecks Yarn in Sweet Pink (79% acrylic, 21% polyester) to achieve a size 4-5. I like to experiment with high-quality, natural fibers in my own knitting, but I usually go with an acrylic blend for my daughter. Not only are they more durable and not itchy, but you can also toss them in the washing machine – at your own risk, of course. Even in a garment bag, it’s still a nerve-racking process. I always air dry flat, because the dryer and hand knits still freaks me out!
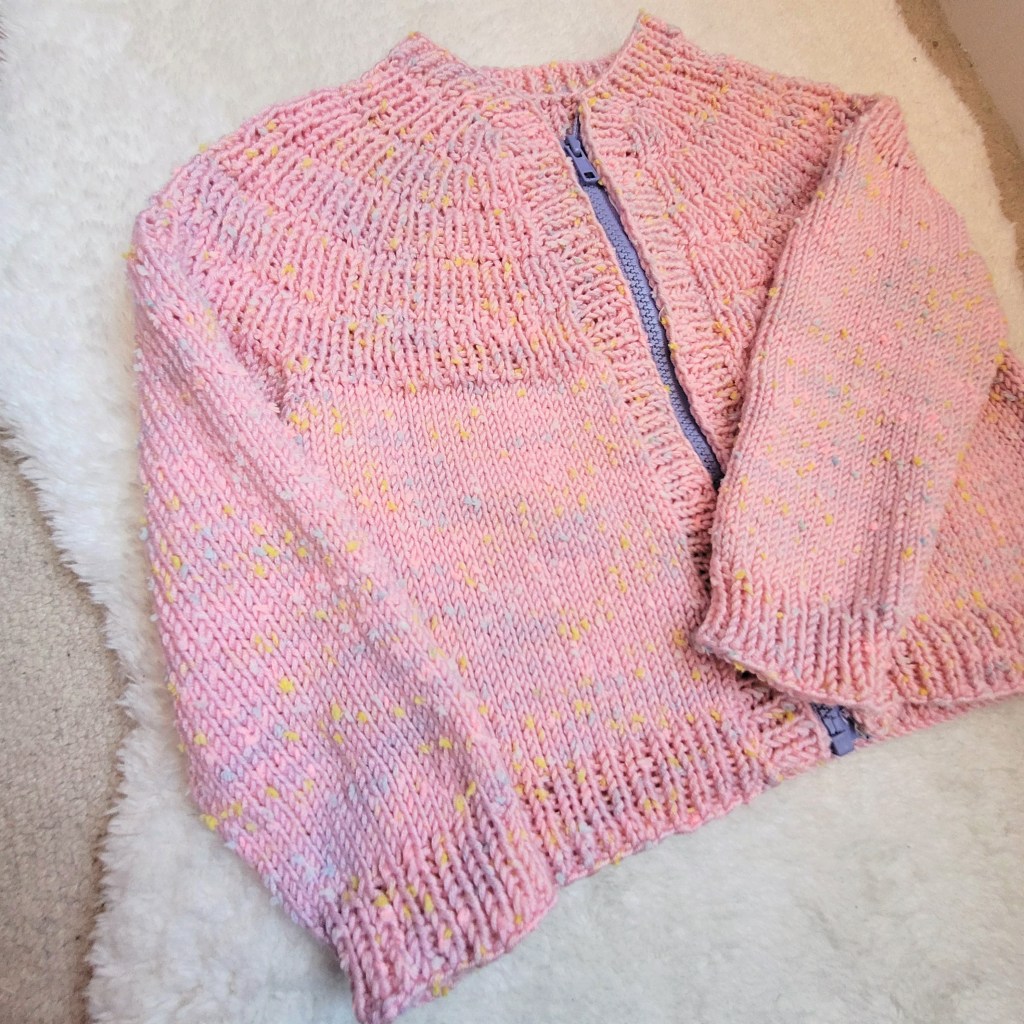
I really love the yoke on this cardigan and the way it works up. It’s made almost entirely of rib increases with a few raglan increases before separating the body and arms. I’m used to knitting raglan increases, so this was a nice change of pace. It creates a beautiful drape and requires less focus. The texture is also really beautiful!

As with previous cardigans for my daughter, I inserted a zipper instead of buttons. At first it was because I couldn’t trust her with buttons. While that’s still true, I actually like the practicality of zippers for toddlers. They’re already so squirmy, so anything that can save a few extra minutes is a winner in my book.
I finished the inside of the zipper with my typical bias binding method. I love using bias binding because it not only finishes the edge, but also offers a discreet way to attach the zipper to the fabric. To baste the zipper to the cardigan, I hide the stitches by running the hand stitching underneath the “lip” created by the machine stitching. Then I secure the bias tape the same way you would a quilt binding or hem. Here is a little visual of the process and materials (excuse the crazy lighting from my sewing table).
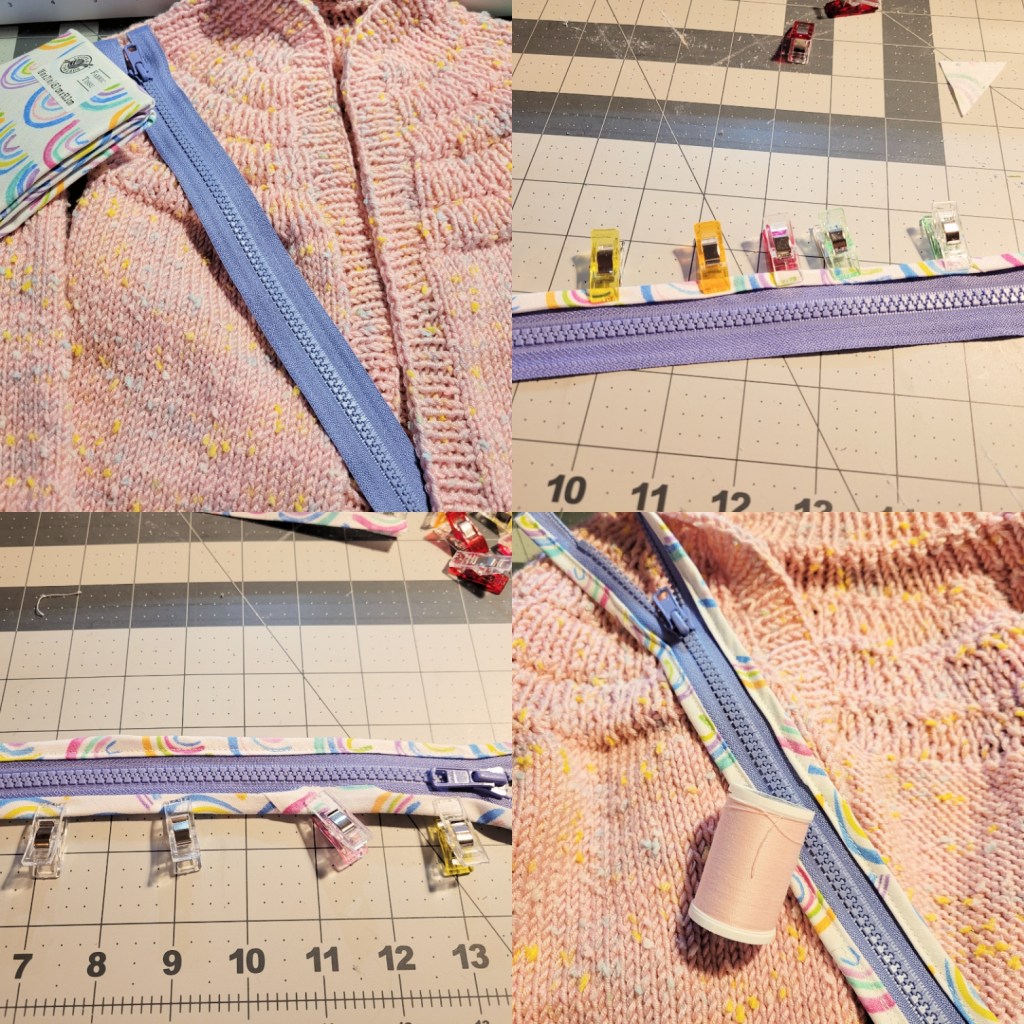
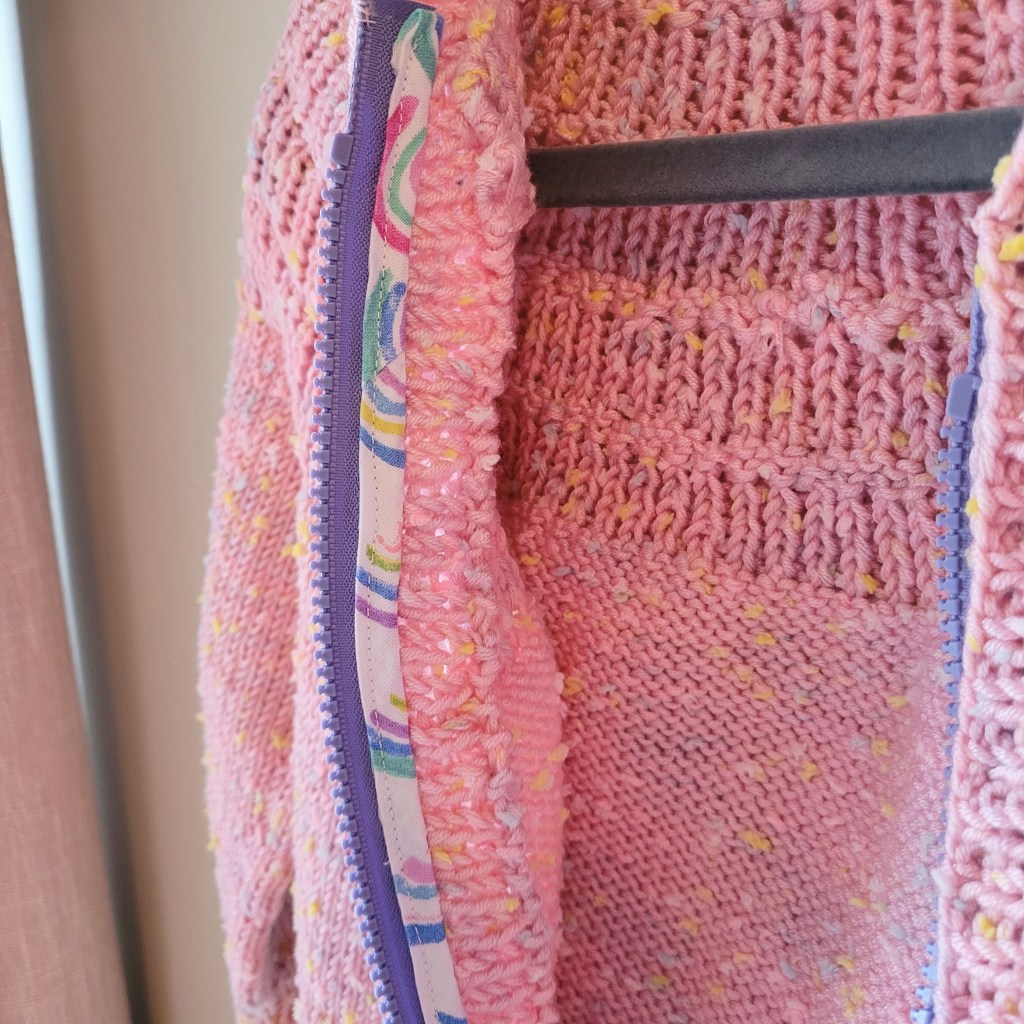
I love the neat finish of this technique. I went from loathing zippers to loving them, and I also enjoy choosing a coordinating fabric for the binding. This is by no means a tutorial on this technique, and I’m sure there are less labour-intensive ways to install a zipper, but I hope it offers a bit of inspiration!
Happy making,
Jackie
A little disclaimer: This blog is very small, so it almost goes without saying, but I am not affiliated with any brands mentioned in this post.

Leave a comment